

SCRAPPY VINTAGE BIRD
Do you want to make one of these really tweet birds?
Follow the instructions below.............Kx

This paper pattern is A4 so if you can copy and paste to fit an A4 great, if you can't email me @ sewsimple@hotmail.co.uk and i'll email you back with it,

First cut out your pieces of fabric 2 for the bird, 2 for the wings & 1 bottom strip.
Put a mark on both bird pieces where I have written mark.
I have used unbleached cotton / linen and vintage floral fabric from one of my FQ bundles.

Place the wings where you thing best, and at this point embellish or do any thing you want to your bird, before we sew it together. Sew the wings on. I want mine to fray.

Pin if you want, I have pinned to show you but find it easier to work without pins and the pieces are so small.

I sew only 1/4 inch from the edge..If you have a bigger seam then the bird will be smaller, otherwise you can just enlarge you bird pattern to size bird you want

One side sewn and it will look like this

Next flatten, line up the beak and tail, sew from where you see the cotton stitches under the beck to the cotton stitches under the tail (leaving 1 to 2 inch gap on its neck/back to turn fabric).

No need to buy a load of polyfill, plus I wanted these birds to be a bit more organic, so I have stuffed them with fabric scraps.

One stuffed bird, ready to be hand sewn shut.
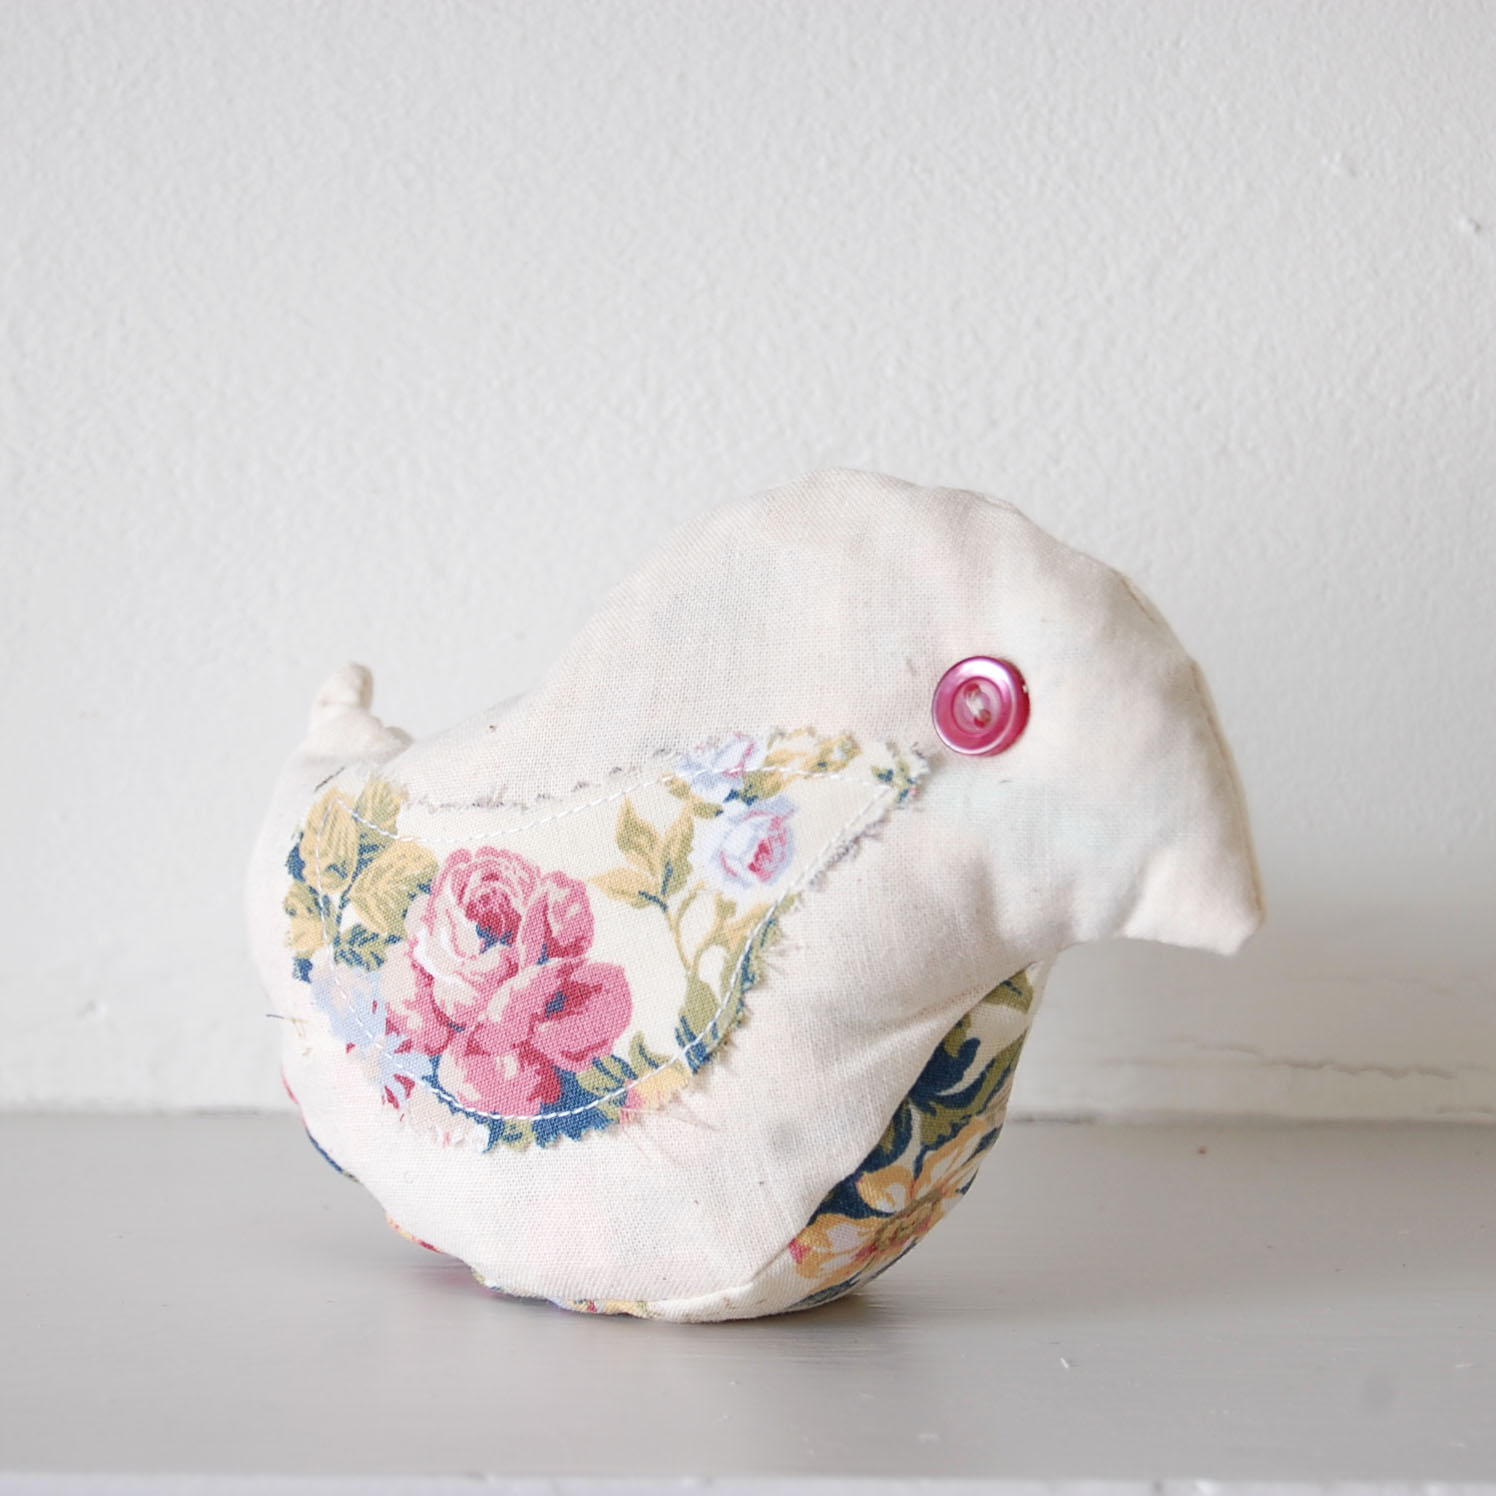
Last add some button eyes.

Scrappy Bird 1

Scrappy Bird 2
Scrappy Bird 3
Great tutorial, thanks for sharing! Ive been wanting to do something simillar for a while.
ReplyDeleteHave a fab weekend x
cute tutorial...
ReplyDeleteI tried to sew some birds ages ago when I still had the tinker toy sewing machine... it did NOT go well at all.
The birds are so cute. Thanks for sharing.
ReplyDeleteGreat Tutorial and charming Bird! I have mentioned your Tutorial on my Blog with a Link back to you! Thanks for sharing. Emma :) http://itsallaboutthefabric.blogspot.com/
ReplyDeleteCute little make! Thanks!
ReplyDeleteGemxxx
ps. You're a crafter...how is it that you appear to have lovely fingernails?!
These are so cute! I just stumbled upon your blog and it's great! :)
ReplyDeleteScrappy no.3 is my favourite (-;
ReplyDeleteWhat cute little birdies! I really have to give them a try...thanks for showing how and linking up! :)
ReplyDeleteso cute!
ReplyDeleteThat is a wug!
ReplyDeleteNow there are three of them. WUGSIES! *u*